If you’re reading this, then you’re probably the Do-It-Yourself (DIY) type of person. Luckily, at My Landscapers, we’re always here to help even the DIY-ers when it comes to landscaping & sodding installation. We’ve written guides before on how to install sod, but this specific post is geared towards installing sod around difficult to move objects. Think of large landscaping boulders or walkways that require curved sod edges. Let’s take a glance at some of the tools we will require before setting out to install our new sod grass around these difficult to move objects.

Tools Required For Sodding ( Sod Installation )
Assuming you’ve already prepared your soil and are now ready to begin installing your sod, you’ll need some tools to do so. Here is a list of the most common tools you will need to begin laying your sod.
- Scissors or Lawn Shears
- Sharp Rigid Knife
- Lawn Roller
The scissors or lawn shears will be used to cut longer stretches of sod. The sharp, rugged knife will be useful when maneuvering around edges or difficult to move objects. Finally, the lawn roller will help settle the new sod grass once it has been cut & installed.
Lesche Digging Tool & Sod Cutter – $70.99 on Amazon
Brinly PRC-24BH 270-Pound Combination Push/Tow Poly Lawn Roller, 18 by 24-Inch – $199.99 on Amazon
Laying & Cutting Your New Sod Grass
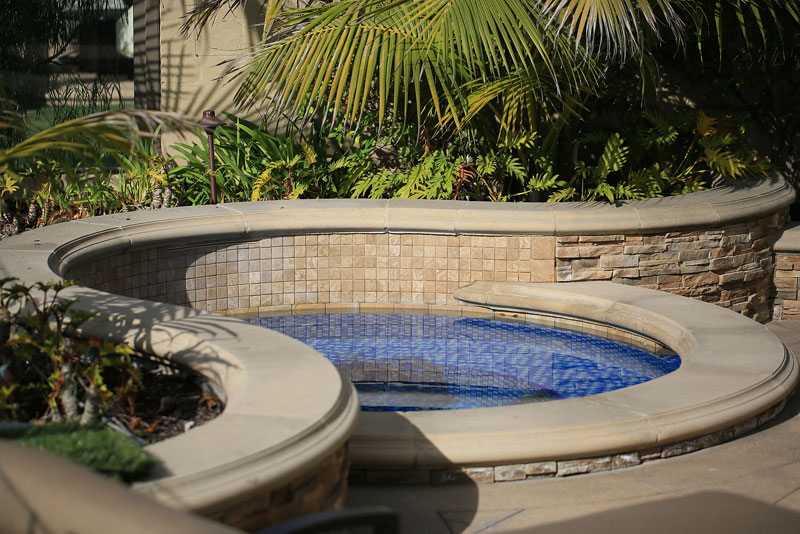
As mentioned in our previous sod installation guides, you want to start laying your sod across the longest edges. Look for objects that you cannot move such as walkways or sidewalks. Begin by laying your sod along these edges. Ensure that the edges of your sod are not overlapping and that they are as tight as possible to the next patch of sod. Use the scissors or lawn shears to help cut your sod to the exact length needed. Once you’ve laid the new sod grass across most of your area, you can begin by laying sod around curves and difficult to move objects. Using the sharp knife or sod cutter, cut as tightly as possible around curves. It helps to have the face of the knife facing the object to help guide you along curves. Once all your new sod is laid out, you can begin with the lawn rolling step.
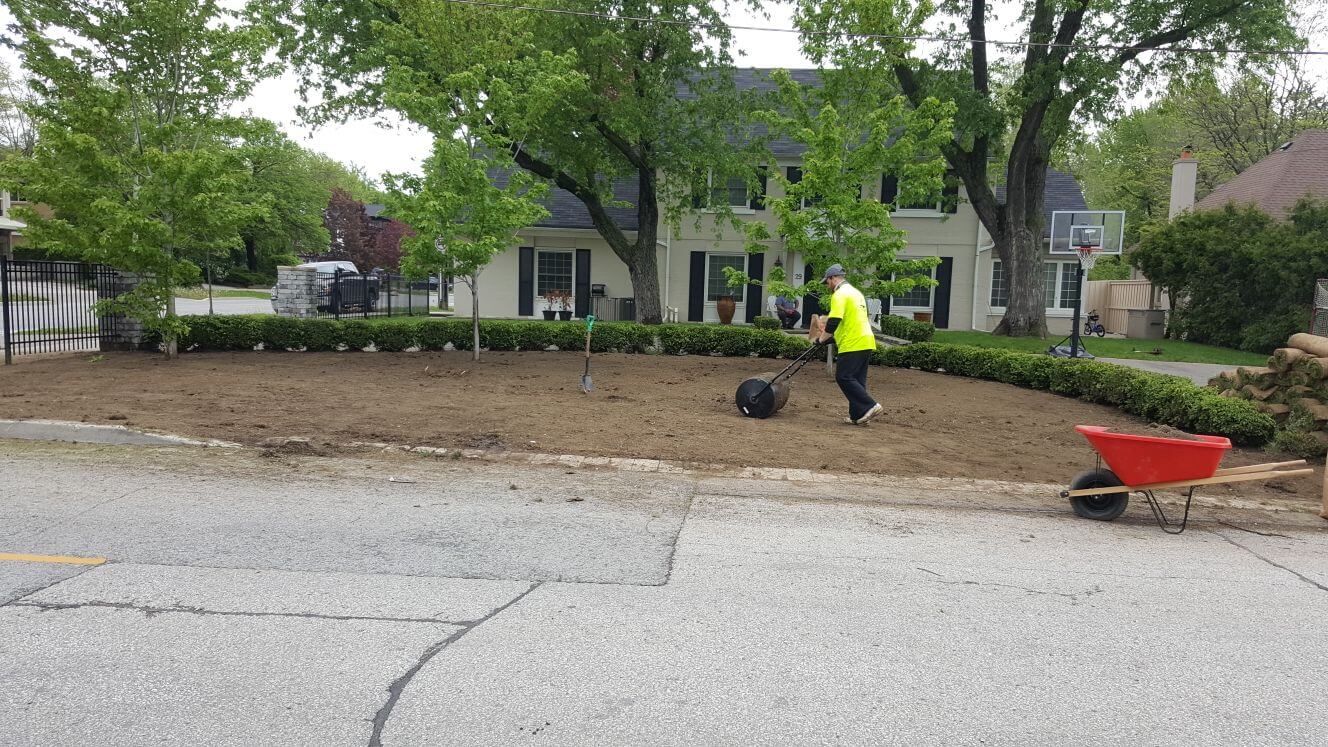
Lawn Rolling Your New Sod Grass
Here’s the final step. Rolling your new sod grass with a drum roller, will help eliminate air pockets. Rolling also helps eliminate bumps and gives you an even surface. Start from one edge and end at the other. For smaller or tighter areas, use a smaller hand roller to help. Once you finish rolling your lawn, you will need to water it again. One of our earlier posts recommend watering 2-3 times a day for new sod grass (See: Cheatsheet: Taking Care Of Your New Sod Grass From Day 1 to Yearly Maintenance). Make sure to follow our guide on maintaining your new sod grass installation. Also, check out our article on the top 7 mistakes to avoid when installing sodding.
Professional Sod Installation Services in Toronto & GTA
My Landscapers has been installing sod grass and replacing lawns for over 14 years throughout Toronto, Markham, Vaughan & Richmond Hill. Our professionals only use organic fertilizers and solutions to help your lawn looks lush, healthy & green. Request your FREE, no-obligation, detailed estimate today and one of our landscaping experts will contact you. Prefer to speak over the phone? Give us a call or use our NEW live chat feature to connect directly with one of our experts.